Cut and fill volume in AutoCAD or BricsCAD 1.4
Cut and fill volume (formerly called LT_SCALE) adds new commands in AutoCAD or BricsCAD, useful for any designers:
- VOL: calculates the volume of filling and digging,
- P3D: creates 3D axis and roadside, starting from 2D,
- LSC: multiplies with a number the scale of ‘Linetype’ for the selected entities,
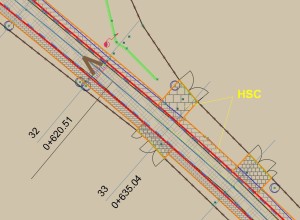
- HSC: multiplies with a number the scale for the selected HATCHs,
- PSC: adjusts the scale for LINEs with ‘Linetype’=POARTA*’ for the selected LINEs,
- KMP: writes the mileage in the BLOCKs inserted on a POLYLINE,
- YTE: changes the Y texts of some points, relative to an origin point,
- XTE: changes the X text of some points, relative to X=0 of the current UCS,
- PTE: inserts elevation and slope with triangle on a POLYLINE,
- DTH: creates custom hatch styles from a DWG. New!
You can also buy the Cut and fill volume LT version, which contains only the VOL command!
Requirements: AUTOCAD at least 2010 version or BricsCAD at least V14.
Video with 7 of the commands
Video with P3D command
Video with VOL (volume) command
Download trial version Buy Cut and fill volume
We also have other new commands in AutoCAD or BricsCAD that you can buy separately: 3D intersection of two sets of 3DSOLID, 3DMESH and 3DFACE, developed (unfolded) section of 3DSOLID, 3DMESH and 3DFACE, triangulation, isolines, contour lines, volume (of soil excavation, for example), loading XYZ points files, flatness of the surfaces, cross sections, longitudinal profile, drawing DWG in Google Earth, identification of wooden beams from 3D drawings of wooden houses and design of furniture.
VOL
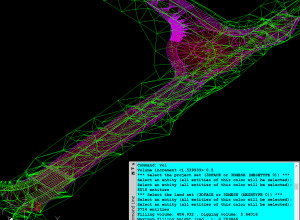
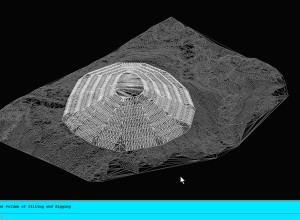
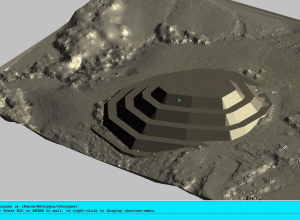
VOL calculates the filling and digging volumes between the project and the land surfaces. The surfaces must be 3DFACE or 3DMESH entities (created with variable MESHTYPE set to 0), having different colors between project and land.
The volumes will be calculated by the intersection with vertical lines of the two surfaces.
First, the “Volume increment”, which represents the step on X and Y of vertical lines, will be introduced.
You will then select the set of project entities. The user will select an entity, all entities with its color being automatically selected. Then another entity, of another color, can be selected. The selection is completed by pressing ENTER.
The set of land entities will then be selected, in a manner similar to the project selection.
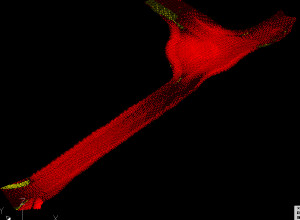
The filling and digging volumes as well as the maximum filling and digging heights will be calculated and displayed. The vertical lines between the surfaces are also drawn.
Online calculation of volumes of cut or fill to earthworks!
DTH
DTH creates hatch styles from a DWG.
Polyline, Arc, Circle and Spline entities will be interpreted. First, the program will explode the existing DWG blocks and merge the Line entities into Polylines. Then the user will enter a distance (“Segment length”) which represents the length of the segments by which the Arc, Circle and Spline entities are approximated, as well as the arcs and inclined segments of the Polylines.
Then you will select the entities from which you want to create a hatch style. The selected entities are automatically deleted and replaced with Polyline entities.
The DTH command also has this important utility (nonexistent in AutoCAD), to divide Polyline, Arc, Circle and Spline entities into equal segments.
A new hatch style will be automatically created in a PAT extension file.
View DTH video clip!
P3D
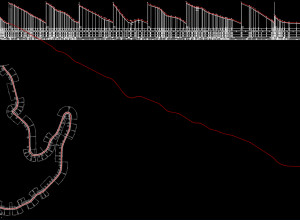
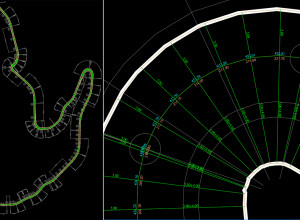
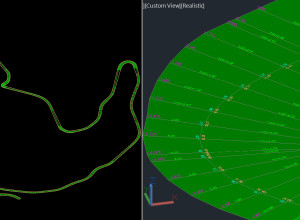
P3D generates the 3D axis, the edges and the surface of a road, starting from 2D POLYLINE from a DWG.
Will be introduced:
– the scale on X of the longitudinal profile,
– the scale on Y of the longitudinal profile,
– a point (“The origin point”) relative to which will be further calculated the Y coordinates of the vertices of the POLYLINE representing the longitudinal profile,
– a TEXT entity representing the real value of the Y coordinate of the origin point indicated above,
– select a POLYLINE representing the longitudinal profile of the road axis,
– select a POLYLINE representing the road axis in the XOY plane,
– the right edge distance of the road.
Optionally, you can create 3 input files with the same name as the DWG file: for transversal slopes, with right extra widening and with left extra widening.
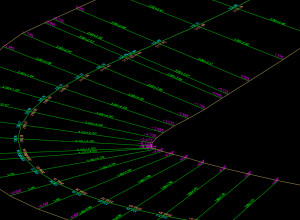
It will be generated three 3D POLYLINE corresponding to the road axis and to the left and right margins. It also generates 3DFACE entities representing the surface of the road and some texts are written: accumulated distance (“s”), Z coordinate of the axis, distances to the edges and transversal slopes.
View P3D video clip!
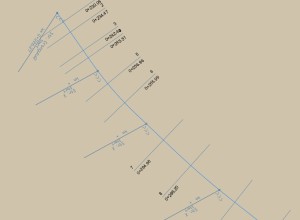
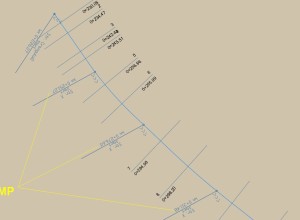
KMP
KMP will update the mileage in the form of attributes in BLOCK entities inserted on a POLYLINE or LWPOLYLINE.
First you must select a POLYLINE or LWPOLYLINE.
Then you will select an initial BLOCK that must have the attributes KM and M. The value in KM will be the part in kilometers of the initial kilometer and the value in M will be the part in meters.
The KMP command will look for the BLOCKs that are inserted on the POLYLINE that you have selected and have KM and M attributes. Their attributes will be completed with mileage, based on the POLYLINE distance between the initial BLOCK insertion point and the current BLOCK insertion point.
The command is useful when you have many BLOCKs that identify culverts, manholes, etc., for which you have to enter the mileage from an initial kilometer.
PTE
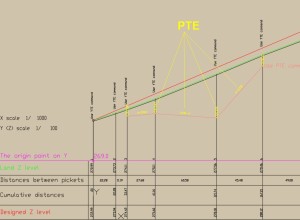
PTE enters the Y elevation and the slope of the segments between the vertices of a selected POLYLINE or LWPOLYLINE.
It will indicate:
– the scale on X and Y of the drawing,
– a point and a text relative to which will be further calculated the Y coordinate of the POLYLINE,
– the number of decimal places of the Y and slope,
– position of the triangles, above or below the POLYLINE,
– POLYLINE or LWPOLYLINE entities will be repeatedly selected.
At the POLYLINE vertices a triangle with its Y value will be inserted, and the slope and the flow direction will be entered between the vertices.
An example of use is a POLYLINE introduced into a longitudinal profile, representing the ditch bottom line.
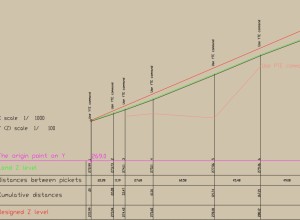
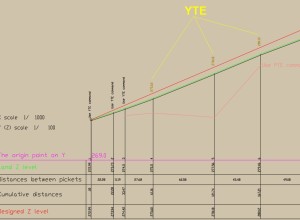
YTE
With YTE you can modify the Y coordinate enrolled in a TEXT entity, depending on the Y coordinate of an indicated point and an initial Y.
First you will indicate the scale on Y of the drawing.
Then you will indicate a point relative to which the Y points will be corrected.
A TEXT entity will then be selected, representing the real value of the Y coordinate of the origin point indicated above.
Also indicate the number of decimal places for the Y value to be enrolled.
Then, repeatedly, one point (possibly with OSNAP options) and a TEXT entity will be indicated. The TEXT will automatically change to represent the Y coordinate of the indicated point relative to the origin point and the Y scale.
The command is useful to adjust the Y values to an origin point, for example, from drawings representing sections or longitudinal profiles.
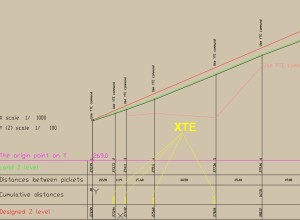
XTE
With XTE, you repeatedly modify the TEXT entities that represent the X coordinate of an indicated point.
First you will point the X scale of the drawing.
Also indicate the number of decimal places for the X value to be enrolled.
Then, repeatedly, one point and a TEXT entity will be indicated. The TEXT entity will change to the value of the X coordinate of the point, relative to the origin of the current UCS.
An example where you can use the command is the row of accumulated distances from a longitudinal profile. In this case, change first the UCS in the first point from which the distances are gathered.
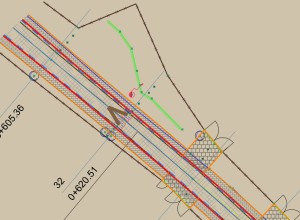
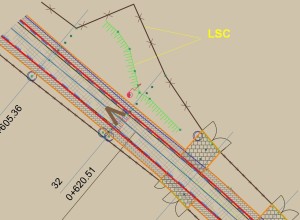
LSC
Multiplies with a user-specified number LINETYPE scales for selected entities.
It is useful when you do not want to change the LINETYPE scales for all entities in the drawing (with the AutoCAD LTSCALE command), but you want a change for only a few entities.
HSC
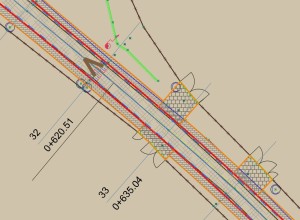
Multiplies with a user-specified number, the scales of the HATCH entities, from the set of selected entities.
PSC
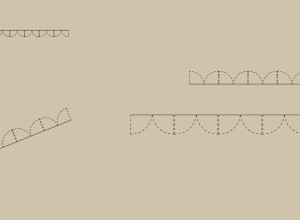
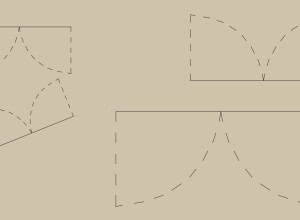
Adjusts the scale of selected LINE entities that have the LINETYPE with SHAPE. The scale will have a value equal to the length of the LINE entity!
The command is useful when you have LINETYPE with SHAPE and you want SHAPE to cover the entire LINE length (for example a SHAPE for a gate or for a window).

